To Kip or Not to Kip: A Guide to Pull-Ups

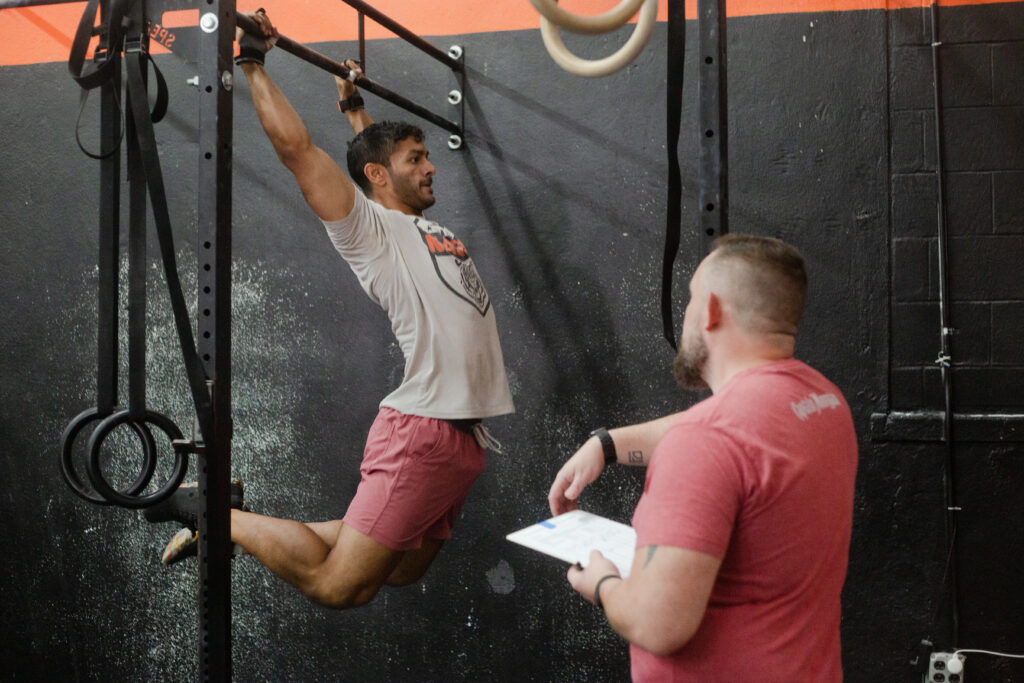
There’s a decent chance that before you really knew what CrossFit was, you heard about how “stupid” its pull-ups were. How they are “cheater” pull-ups; how the people doing them look absolutely ridiculous flinging themselves at the bar; how they probably can’t even do a “real” pull-up.
They are, of course, referring to the kipping pull-up, or to its more advanced cousin, the butterfly pull-up. And even if you have personally never done a kipping pull-up, you’ve probably seen your classmates grind through them in workouts and almost definitely didn’t think they were short-changing their fitness by doing them.
This article covers the how, the why (and the why not) of kipping pull-ups: what purpose they serve, when they’re appropriate and when they’re not, and why the first step to kipping like a pro is the tried and true strict pull-up — plus all the drills and skills you can practice to help you on your pull-up journey.
What’s the point of kipping pull-ups?
To begin understanding why we do kipping pull-ups requires some background on CrossFit’s foundational philosophy on what constitutes fitness and how to achieve it. Above all, CrossFit values intensity, or power output, as, its founder stated, “the independent variable most commonly associated with maximizing favorable adaptation to exercise.” This is why CrossFit has embraced high-intensity workouts as the bread and butter of its programming, and it’s why those intense conditioning pieces will more often than not default to kipping pull-ups when a pull-up is prescribed.
Power is defined as force x distance divided by time, so the faster you can do something, the higher your power output. The range of motion, or distance in our power formula, on a pull-up — from a straight-arm hang to chin over the bar — is roughly the same whether you’re doing it strict or kipping, and the force, in this case your body weight, is identical. So to increase power output on pull-ups, you need to do them faster, and kipping lets you do that. By using momentum from the swing, you slow the onset of upper body fatigue while still working the same muscles used for a strict pull-up. Take an athlete proficient with both the strict pull-up and the kip swing and give them a minute to do as many reps as possible: they’ll get many more kipping pull-ups in that time frame than they would doing strict pull-ups.
Strictly Speaking
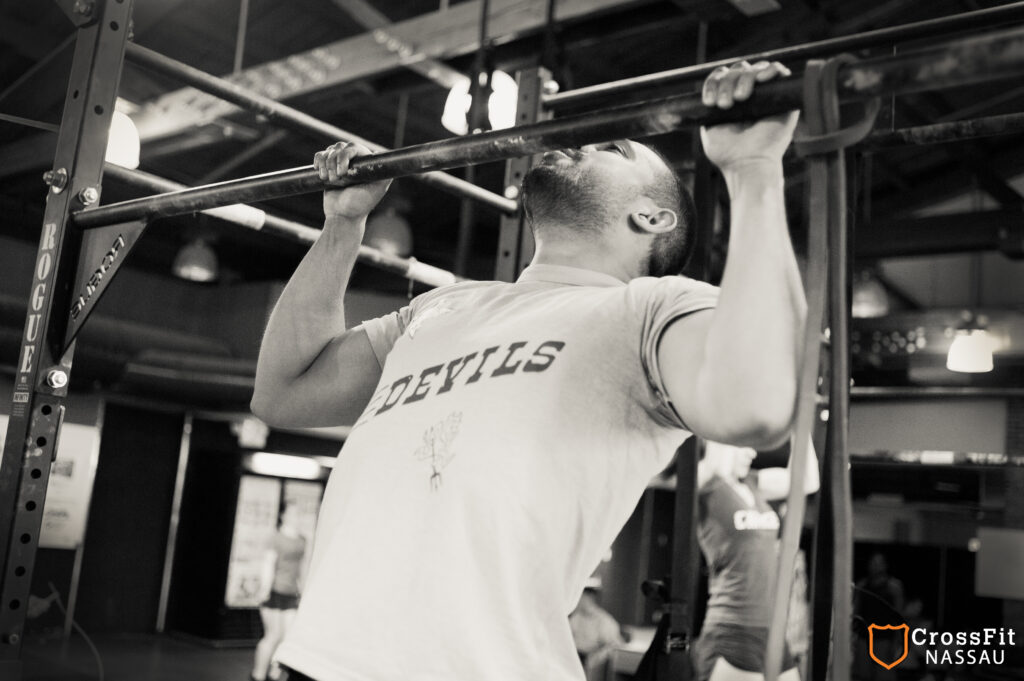
In a conditioning context, kipping is king. But in terms of pure strength, strict pull-ups stand superior. The strict pull-up strengthens muscles in the arms, core, shoulders, and upper back and is one of the foundational elements required for the kipping pull-up to be performed safely.
This is a simple matter of strength and stability: to minimize the risk of injury from kipping pull-ups, athletes first need the strength to perform the static version of the movement — the strict pull-up performed from a dead hang without the assistance of any momentum. They also need to be able to control the movement, particularly in the eccentric phase, or negative, when lowering back down to the starting position. If the shoulder muscles don’t yet have that strength and control, they are ill prepared to handle the added forces placed on them with the addition of the kip swing. Without the stability in the shoulder joint and the strength in the biceps and lats to fully control the dynamic movement, support structures in your shoulder are forced to do a job they’re not designed to do, absorbing the added forces and impact that the muscles cannot handle.
It can also be a matter of mobility. If you can’t get into a good overhead position hanging from the bar, your body is finding ways to compensate in order to complete the pull-up range of motion — and adding to existing imbalances along the way. Bringing kipping into the mix invites poor technique, exacerbates those imbalances, and opens the door to shoulder injuries, particularly when doing a high volume of pull-ups.
This is why, even if you can do one or even several kipping pull-ups, but you can’t yet do a decent number of strict pull-ups, your coach might suggest that you continue to scale to ring rows or banded pull-ups, especially when a workout calls for a high volume of pull-ups. They’re not trying to hold you back — they have your best interest at heart and know that the best way to keep you progressing on your pull-up journey is to keep you healthy. In general, we suggest that athletes be able to do a minimum of 5-8 unbroken strict pull-ups before beginning to regularly do kipping pull-ups in workouts. You can see our full guidelines and get ideas for how to scale your next pull-up workout here.
Kipping Basics
Even if you’re not ready to attempt kipping pull-ups, the kip swing is a useful skill to develop. For one, it’s applicable to other skills, such as toes to bar and variations like knees to elbow and knee raises. And, more importantly, perfecting the mechanics of the kip swing before applying it to higher skill movements like pull-ups will help minimize the risk of injury.
The basics of the kip start with two positions that you can practice anywhere you have enough room to lie down: the hollow body position and the superman, or arch position. The kip is a controlled alternation between these two positions. Practice the hollow body with your legs straight and squeezed tight together, your lower back pressed into the ground, and your shoulders lifted off the ground with your arms straight overhead. Practice the arch in the same way, with legs together, arms out overhead, and your stomach against the ground.
When you’re ready to try this on a pull-up bar, start on a bar you can reach easily with your feet still touching the ground, and practice moving between these two positions while standing. To better replicate the swing, move to a higher bar and perform the same drill with one foot on a box and the other foot hanging.
Once you’re comfortable doing this, it’s time to try the real thing. It’s important to understand that while the kip lets you use momentum from the hips to perform the pull-up, the movement itself comes from your shoulders. Don’t initiate the swing by piking your legs up or bending your knees to kick behind you. Pull your ribs in and push down on the bar to reach the hollow position, then push your chest through as you move into the arch position. A good kip swing is one you can fully control, meaning that you could stop and hold your position in any phase of the movement.
To put the “pull-up” in kipping pull-up, you’ll harness the momentum you gain moving from the arch position back to the hollow position. As your feet come forward, push down on the bar with straight arms, then pull until your chin is over the bar. To move into the next rep, push away from the bar and return to hanging at full extension. But let’s not get ahead of ourselves — the road to kipping pull-ups starts with strict.
 Pull-Up Progress
The kip swing is a good skill to have, but practicing that won’t get you any closer to your first strict pull-up. Fortunately, there are plenty of exercises that will. Some of these are things like ring rows and banded pull-ups that you may already be doing in workouts; others are accessory and strength movements that you can practice on your own before or after class, during open gym, or when strict pulling work is programmed as part of skill or accessory work.
Hanging Out
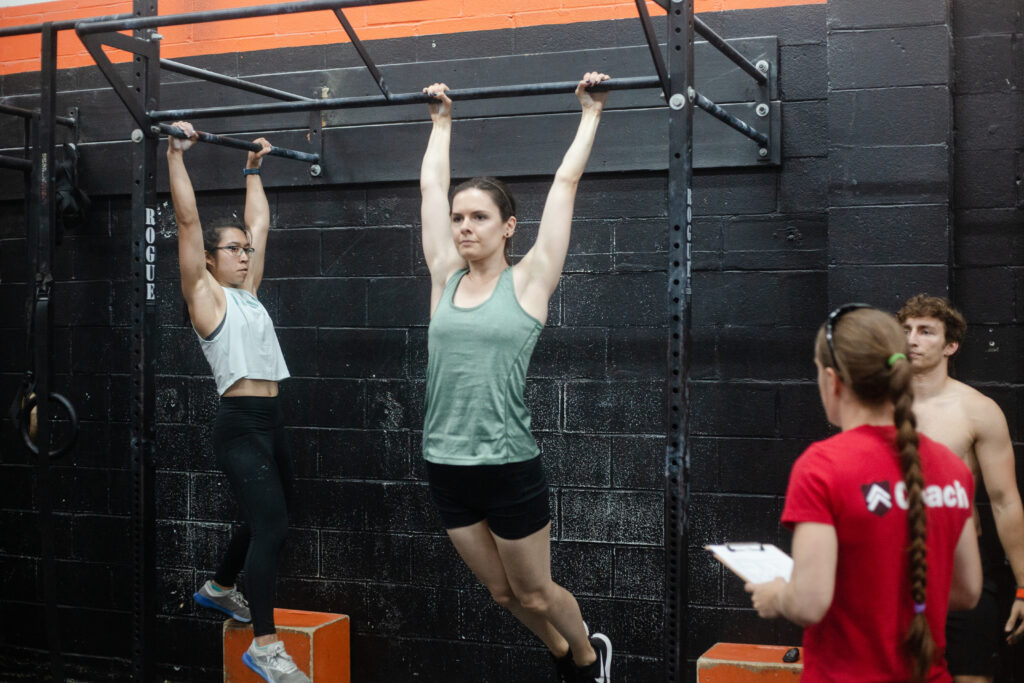
Dead hangs. First things first: You need the strength to hang from the pull-up bar, supporting your full bodyweight. Luckily, the dead hang is in and of itself a fantastic exercise. It helps build grip strength, strengthens and stretches the shoulders, and stretches and decompresses the spine. If needed, start by hanging with assistance from a band, but work your way up to hanging unassisted for up to 60 seconds at a time. Use an overhand grip on the bar (with your palms facing away from you), and set up with your arms roughly shoulder-width apart. Make sure you’re hanging with straight arms.
Scapular pull-ups. Once you’ve mastered the dead hang, it’s time to practice doing so with active shoulders. To work on this, incorporate scapular pull-ups into your routine. Start from a dead hang, then, keeping your core tight and your arms straight, pull your shoulder blades down and back, effectively moving your shoulders away from your ears. Then, relax back to the dead hang and repeat for sets of 5-10 repetitions.
Active hangs. Scapular pull-ups will help strengthen the muscles in your shoulders and upper back and also introduce you to the active hang position, with your shoulders pulled down and back. Performing static holds in this position is more challenging than holding the dead hang but is another effective way to build grip, shoulder, and core strength.
Practice Pulls
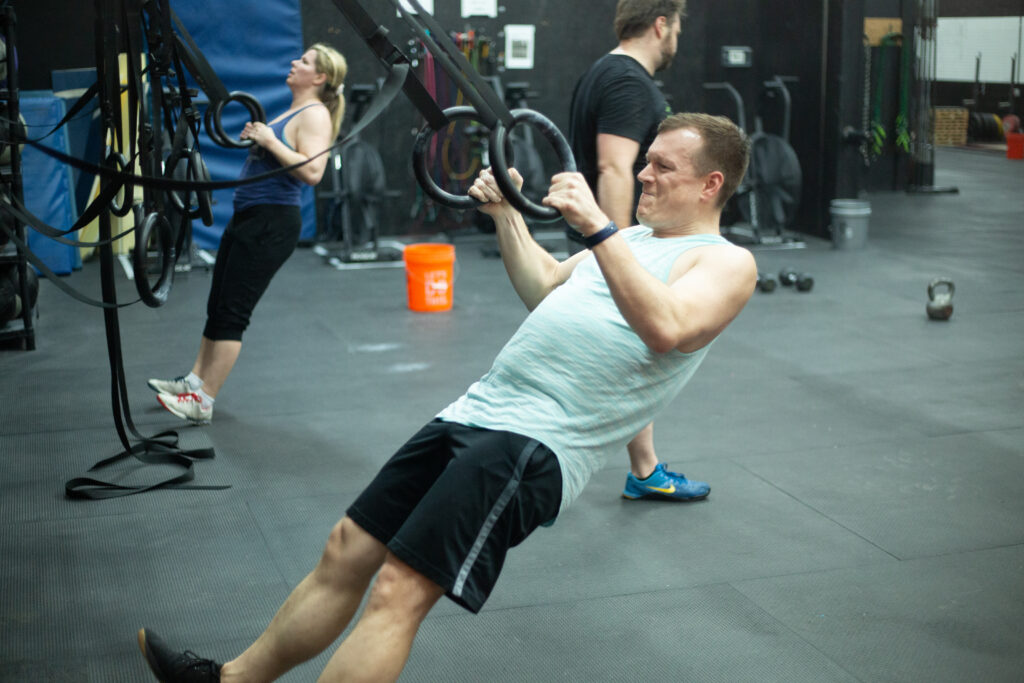
Ring rows. For most athletes starting out in CrossFit, ring rows are their first introduction to an upper body pulling movement, and despite being a standard way to scale for athletes who don’t yet have pull-ups, they’re an excellent strength movement that athletes of all levels can benefit from practicing. They’re also inherently adjustable: the further you put your feet in front of the rings, and the more horizontal you make your body, the more difficult the movement becomes. For an added challenge, perform them with the rings crossed over, which forces more engagement of your lats — the large muscles on your sides that help move the shoulder joint and are hugely important for successfully doing pull-ups.

Ring rows, however, are a pulling movement in the horizontal plane, and pull-ups are pulling in the vertical plane. So while they’ll help build strength in all the muscles needed for pull-ups, it’s important to practice other progressions to learn the mechanics of the vertical pull.
Banded pull-ups. Using a band reduces the amount of resistance you need to overcome to do the pull-up, which makes banded pull-ups a great option for practicing the full range of motion on a pull-up before you’re able to move your full bodyweight. Like ring rows, these are also inherently scalable: the thinner the band, the harder the pull-up becomes.
To get the most benefit from banded pull-ups, it’s important to do them properly. They’re a way to build strict pulling strength, so keep your movement strict — don’t kip while using a band. Not only are you reducing the effectiveness of the movement, but you’re also increasing the risk of hurting yourself by having the band come off your foot. The other purpose they serve is to get your body accustomed to the full range of motion for the pull-up, so if you’re incorporating banded pull-ups in your workouts, make sure you’re consistently achieving that full range of motion, starting with straight arms and finishing with your chin fully over the bar.
Jumping pull-ups. Jumping pull-ups let you use momentum from a jump off the ground to assist with the pull-up. These are also adjustable: the higher the bar you’re jumping to, the less help you’ll get from the jump. At the other end of the spectrum, set up the easiest version of a jumping pull-up by using a very low bar or setting up a box such that you can reach the bar while standing on the ground with bent knees. Start under the bar with straight arms, jump your chin up over the bar, then return back to your starting position with straight arms.
The real value in jumping pull-ups, however, comes not from the way up but from the way down. Once you’ve gotten your chin over the bar, try to lower yourself down as slowly as possible. This is the eccentric (negative) phase of the movement, and there are huge strength gains to be made by practicing this portion of the skill. Beware, however, that slow negatives are a very potent exercise. Start with very small sets — 3 to 5 sets of 2 to 5 reps at a time — and be careful not to overdo it.
Leveling Up
Congratulations! You’ve achieved your first strict pull-up. Now it’s time to build on that accomplishment. To continue building your strict pull-up capacity, keep practicing the drills above, but try incorporating more challenging options. Rather than doing jumping pull-ups with a slow negative, try for tempo strict pull-ups: add a 2-3 second hold at the top, with your chin over the bar, and spend 3-5 seconds on the descent. Begin working toward strict chest-to-bar pull-ups by increasing the range of motion on banded or jumping pull-ups, trying to get your chest to the bar. And begin practicing small sets of kipping pull-ups — you’ve earned it.


Leave a Reply